Ingredients:
Chicken Stew:
2 lb. chicken breast or thigh (dependent on preference)
1 small shallot, diced
3 cloves garlic, minced
2 stalks celery, diced
2 large carrots, peeled and sliced into coins
1 c. green peas
1.5 liters plus 1/4 c. chicken stock, with 1/4 c. reserved and mixed with 3 TBSP flour to form a slurry
1/4 c. sour cream
1/4 c. heavy cream
1 TBSP chicken bouillon base
2 tsp fresh thyme
2 Bay Leaves
S & P to taste
Dumplings:
1.5 c. AP flour
1 TBSP baking powder
2 tsp salt
2 tsp fresh minced parsley
4 TBSP melted butter
1/3 c. milk
How To:
Step 1—Pull out your trusty Crock Pot and get it ready to roll. In a saucepan, add a couple TBSP oil of choice and heat to medium. Sear off chicken thighs/breasts on both sides and place into Crock Pot. In same pan, sautè down shallot, celery, and garlic until shallot begins to turn transparent then add on top of chicken.
Step 2—In a small mixing bowl, combine chicken stock, sour cream, heavy cream, bouillion/base, thyme, and salt and pepper. Pour over chicken and veggies, add bay leaves into Crock Pot and set to high for 4-4.5 hours, or until chicken is fork tender. Remove chicken breasts and set aside to cool slightly. Toss in your carrots and frozen peas and allow to cook for another hour, or until carrots are JUST tender.
Step 3—Shred cooled chicken breasts. Stir in slurry and add the shredded chicken breasts. Replace lid to Crock Pot and begin to mix up the dumplings.
Step 4—In medium mixing bowl, combine all dry dumpling ingredients and stir well. Stir in parsley, then melted butter, then milk. Drop by spoonful into chicken stew in Crock Pot, and allow to cook on high for about 15-18 minutes.
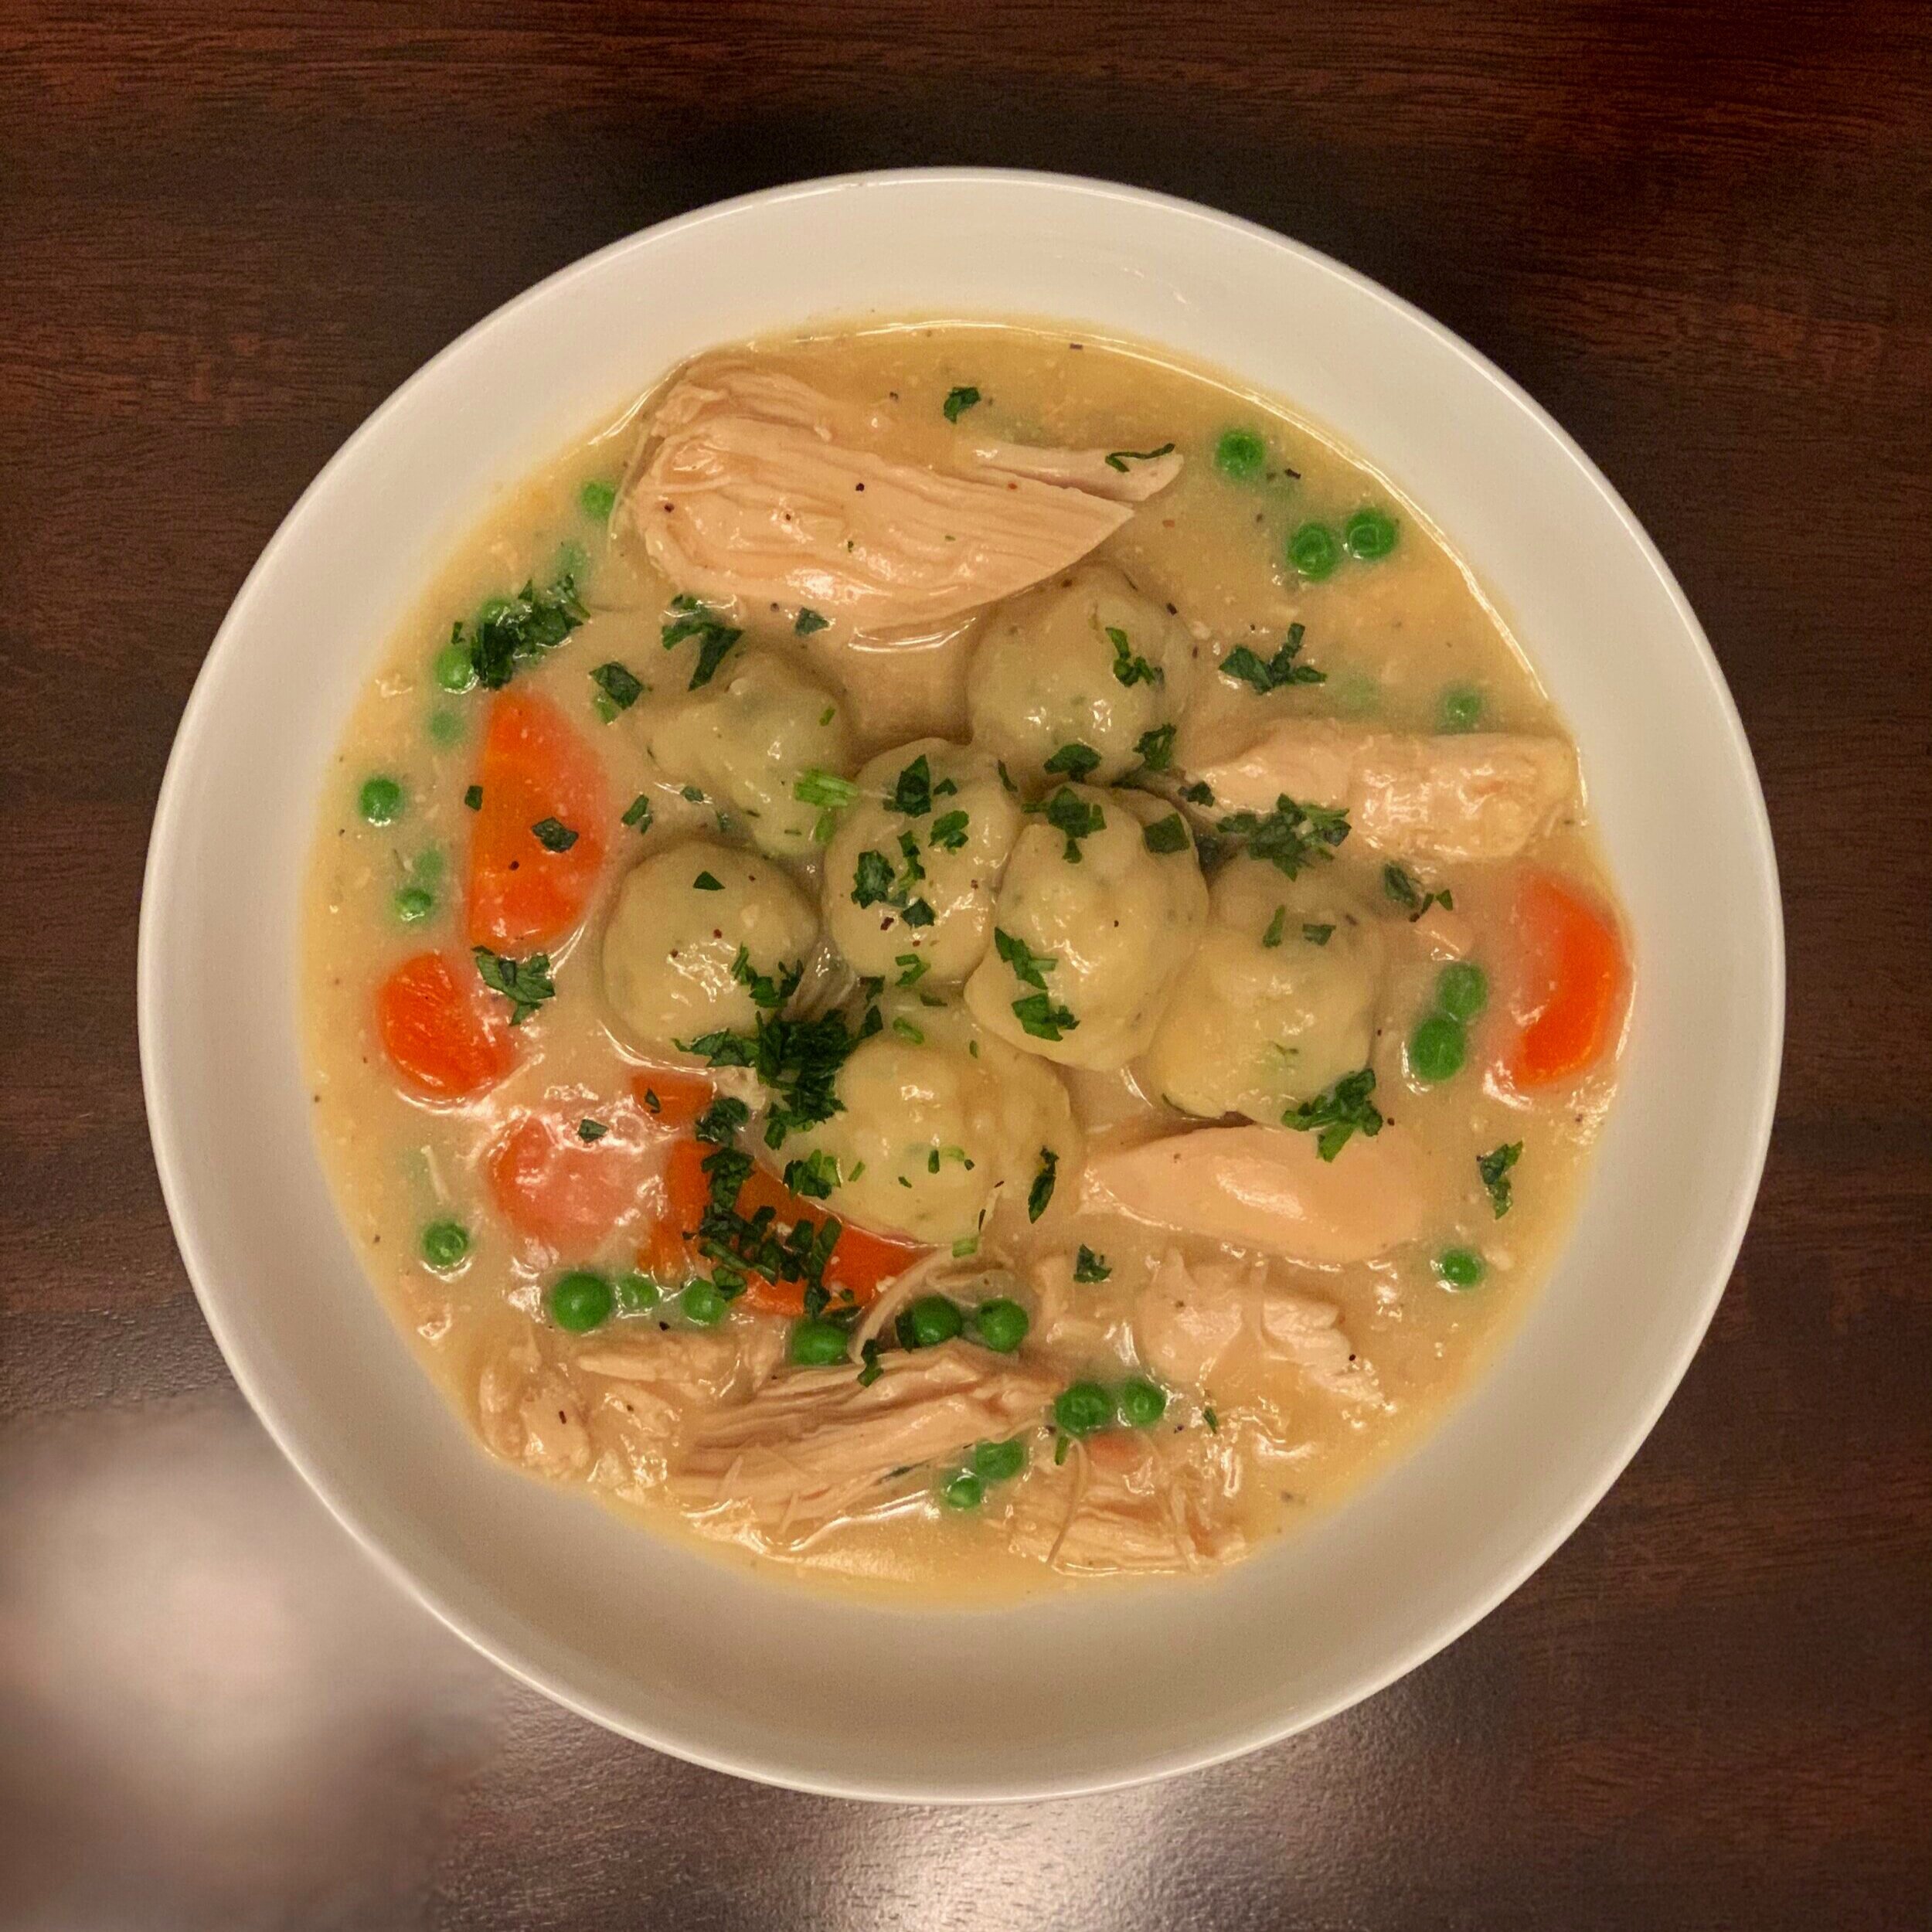
Step 5—Spoon into a big ol’ bowl and get down on it! We finished the dish with just a bit of fresh parsley and INHALED IT.
This is a recipe I created with my wonderful little foodie son, Mason. Kids are never too young to learn to be safe and proficient in the kitchen, so get them in there and get to cooking!